

Restoring the upholstery in classic Honda vehicles is a rewarding endeavor that not only enhances the aesthetic appeal of these timeless automobiles but also preserves their historical significance. Over the years, the interiors of these vehicles can become worn and damaged due to exposure to the elements, frequent use, and natural aging processes. Engaging in the restoration of upholstery offers enthusiasts and restorers a unique opportunity to breathe new life into their vehicles while ensuring that they maintain their original character.
The process of upholstery restoration involves several key steps, from evaluating the current condition of the fabric to selecting appropriate materials that match the vehicle’s original design. Identifying the specific upholstery needs of different Honda models, whether it’s the iconic Civic, Accord, or CRX, ensures that each restoration project respects the unique craftsmanship and heritage of the manufacturer. By utilizing high-quality fabrics and skilled techniques, restorers can achieve a finish that not only looks authentic but also provides durability and comfort.
Additionally, restoring upholstery is more than just a cosmetic upgrade; it contributes to the overall value of the classic vehicle. A well-maintained interior can significantly enhance the appeal to potential buyers and collectors, making it an essential part of the restoration process. As such, understanding the intricacies of upholstery restoration in classic Honda cars is crucial for anyone looking to preserve their automotive investments for generations to come.
Choosing the Right Materials for Honda Upholstery Restoration
When restoring upholstery in classic Honda vehicles, selecting the appropriate materials is crucial for both aesthetic appeal and durability. The first consideration is fabric type. Original Honda upholstery often featured materials like vinyl, cloth, or a combination of both. Choosing high-quality reproductions or equivalent materials will help maintain the authentic look and feel of the vehicle.
Vinyl is a popular choice for its ease of cleaning and resistance to wear, making it suitable for daily drivers. However, it can become brittle over time, especially in older vehicles. Opting for a premium vinyl material that mimics the original texture while offering improved longevity can be beneficial.
For those seeking a more luxurious finish, weaved fabrics or carpet-like materials can enhance comfort and aesthetics. These fabrics provide a classic look and can add warmth to the interior. Selecting materials that are UV resistant will prevent fading and damage from sun exposure, ensuring a longer lifespan.
Another essential factor is color matching. Restorers should consider sourcing materials that closely match the original Honda color schemes. Many suppliers offer color swatches, allowing you to find the exact shade needed for a seamless restoration. This attention to detail contributes significantly to the vehicle’s overall value.
Lastly, durability should not be overlooked. Upholstery materials should withstand everyday use and resist wear from seat belts, frequent entry and exit, and exposure to various elements. Conducting research on material specifications and consulting with experts can inform smart choices for a long-lasting restoration.
Step-by-Step Guide to Removing and Replacing Upholstery in Classic Honda Models
Restoring the upholstery in classic Honda vehicles enhances their aesthetic and preserves their value. Follow this detailed guide to effectively remove and replace the upholstery in your Honda model.
Step 1: Gather Necessary Tools
Before starting the process, collect the required tools: a flathead screwdriver, Phillips screwdriver, upholstery needle, heavy-duty thread, scissors, a staple gun, and a measuring tape. Having these tools ready will streamline your work.
Step 2: Remove the Seats
Begin by disconnecting the battery for safety. Then, locate and unscrew the bolts securing the seats to the floor. Carefully tilt the seats forward and disconnect any wiring related to seat adjustments or airbags. Lift the seats out and place them on a clean, soft surface to avoid damage.
Step 3: Detach Old Upholstery
Using a flathead screwdriver, carefully pry off any decorative trim or covers. Next, inspect the seams and use a seam ripper or scissors to detach the old upholstery from the seats. Take note of how it is attached as this will guide you during the reupholstering process.
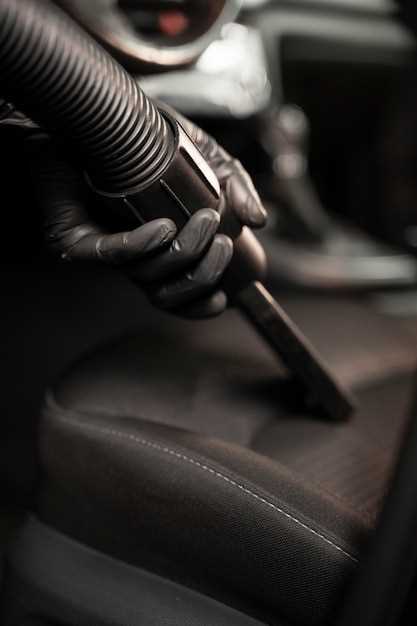
Step 4: Clean the Seat Frame
Before applying new upholstery, clean the seat frames thoroughly. Remove any dirt, dust, or old foam remnants. Consider applying a protective sealant to metal parts to prevent rust.
Step 5: Cut New Upholstery Material
Using your measuring tape, carefully measure the areas requiring new upholstery. Cut the new fabric according to these measurements, adding a few extra inches for seam allowances. Ensure the material is suitable for automotive use to ensure durability.
Step 6: Attach New Upholstery
Start by laying the new upholstery over the seat frame, aligning it according to your notes from step 3. Fasten it temporarily with staples or clips. Once satisfied with the alignment, begin sewing the seams using an upholstery needle and heavy-duty thread. Ensure the fabric is tight and properly fitted.
Step 7: Reassemble the Seats
After securing the new upholstery, reattach the decorative trim and any clips or fasteners removed earlier. Carefully place the foam back into position if it was detached. Make sure all components are aligned properly before final assembly.
Step 8: Reinstall the Seats
With the new upholstery securely in place, position the seats back into the vehicle. Reattach the bolts and reconnect any wiring, ensuring everything is secured. Double-check that the seats adjust smoothly and are safely mounted.
Step 9: Final Touches
Reconnect the battery and conduct a thorough inspection of the seats. Sit in them to check for comfort and stability. Clean the surrounding areas to remove any debris from the reupholstering process. Enjoy your newly restored classic Honda upholstery!
Maintaining and Preserving Restored Upholstery in Classic Hondas
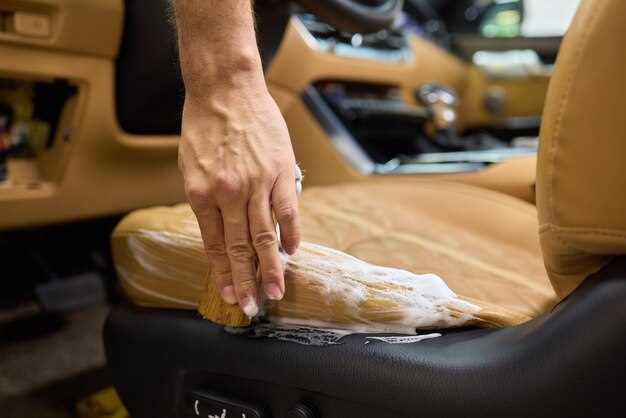
Maintaining and preserving restored upholstery in classic Hondas is crucial for retaining the vehicle’s aesthetic and value. Regular cleaning is essential; use a mild detergent mixed with water to gently wipe down surfaces. Avoid harsh chemicals that may degrade the fabric or leather. For leather upholstery, applying a quality conditioner periodically will prevent cracking and maintain suppleness.
Sunlight can cause fading and damage to upholstery over time. Whenever possible, park your classic Honda in shaded areas or use UV-blocking window films. Consider using car covers when the vehicle is parked for extended periods, providing an extra layer of protection against the elements.
Addressing spills immediately can prevent stains from setting in. Blot liquids with a soft cloth rather than rubbing, which can damage the fibers. For stubborn stains, consult professional cleaning services that specialize in automotive upholstery to ensure a safe and effective approach.
Inspect the upholstery regularly for signs of wear or damage. Catching problems early allows for timely repairs that can be less expensive and extensive. When performing repairs, use materials that closely match the original to preserve the vehicle’s authenticity.
Lastly, maintain a controlled environment for storage. High humidity can lead to mold growth while extremely dry conditions may dry out upholstery materials. Utilizing dehumidifiers or climate-controlled storage can significantly enhance the longevity of restored upholstery.


